How to Draw Grass Easily. It’s always nice to spend time outside and have fun on the lawn! Although we all see weed almost every day, there are many interesting things to see when you get up close.
Also, check our cute cat coloring pages.
As you get closer, you can see insect communities, cool rocks, and many different types of grass. Learning to draw grass can be a great way to envision what might be living between the blades.
How to Draw Grass
Step 1
In this first step of our how-to-draw grass guide, we’ll get closer to the blades as we draw this grass scene!
First, however, we need soil for the grass to grow. First, we’ll use a rough, curvy line for the terrain.
Next, we’ll draw some flat round shapes on the ground for some rocks and pebbles. That’s it for now, so let’s move on to browsing in the next step of the guide!
Step 2
For the second part of drawing the grass, we’ll start by drawing it. To draw this grass, we’ll start with three blades.
These blades are drawn with curved lines with sharp points at the top. The blade on the left is bent, while the one in the middle is curved. Finally, the blade on the right has a space on the side, as we will draw more blades against it later.
Step 3
In this step of our tutorial on how to draw grass, we will add more blades of grass. Some of these blades will be positioned differently than others, so we’ll look at each individually.
Two blades overlap and go into the space you left in the blades you drew in the previous step.
Next, we’ll add another slightly curved blade with another one behind it. Finally, draw another blade that folds back quite sharply at the end of the blade of grass.
This will finish off all the blades, so let’s add some background details in the next step.
Step 4
Now that you’ve drawn all of the grass let’s focus on some background details for drawing the grass.
First, we will use some smooth lines for some big rocks in the image’s background. Then we can use more curved and pointed lines for smaller grass blades next to the larger ones.
Finally, as a final touch, you can use some line detail on the ground around the grass to give it more texture detail.
So you’re ready to add some final details in the next part! Before that, you can add some details to the background.
You could draw some insects or other small animals humming and playing in the background or add even more grass to accompany the drawing.
You could even paint some of your favorite flowers on the picture to add even more vibrancy!
Step 5
In this step of our tutorial on how to draw grass, we will complete some final details.

First, add some simple line detail on each blade of grass, and those lines start about halfway down each blade of grass.
You could add finer details like weathering or small holes where insects may have gnawed on the blades.
The next step is the last part of the guide, where you finish with some colours. This is your chance to add any finishing touches to the image you want! When you’re ready to move forward, it’s time for the final step.
Step 6
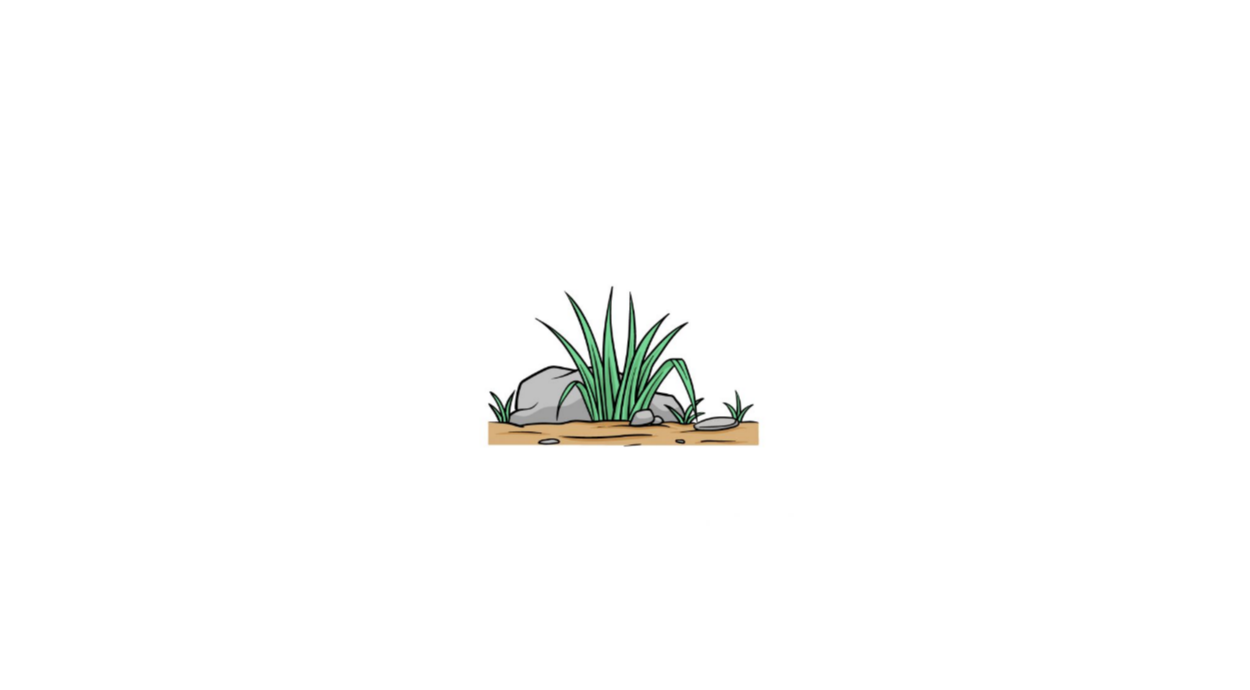
This sixth and final step in your grass drawing is completing your artwork with some colors!

In our reference image, we used more muted tones like brown, grey, and green to give the image a more earthy feel.
Even if you choose a similar color scheme, there’s a lot you can do to bring some of your favorite bright colors into the mix.
Whether you’ve drawn background details or added a background, this gives you plenty of opportunities to get creative with color.
You can also achieve color variation by playing with your favorite art mediums and tools.
For nature-themed outdoor images like this one, it can often feel good to have the softer colors of watercolor, but whatever medium you choose brings something to the picture! We can’t wait to see what you choose to complete your design.
Your Grass Drawing is Finished!